A $300 Renter-Friendly Makeover Brought 1920s Charm to This Boring White Kitchen
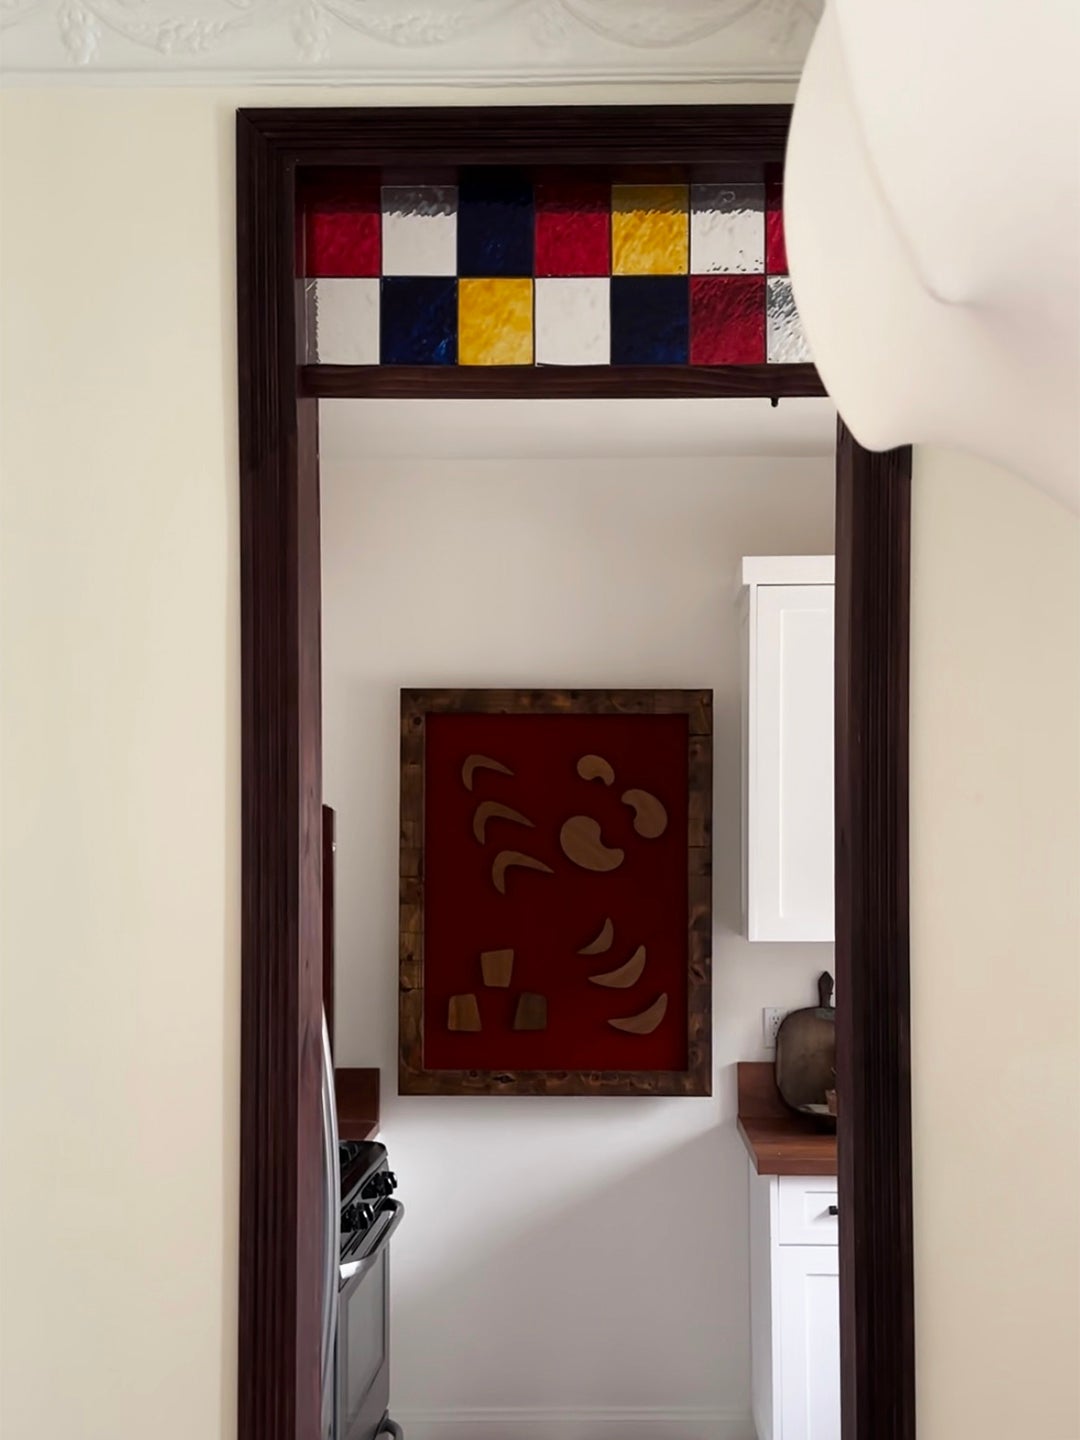
A faux stained-glass window greets you.
Published Jul 11, 2023 1:25 AM
We may earn revenue from the products available on this page and participate in affiliate programs.
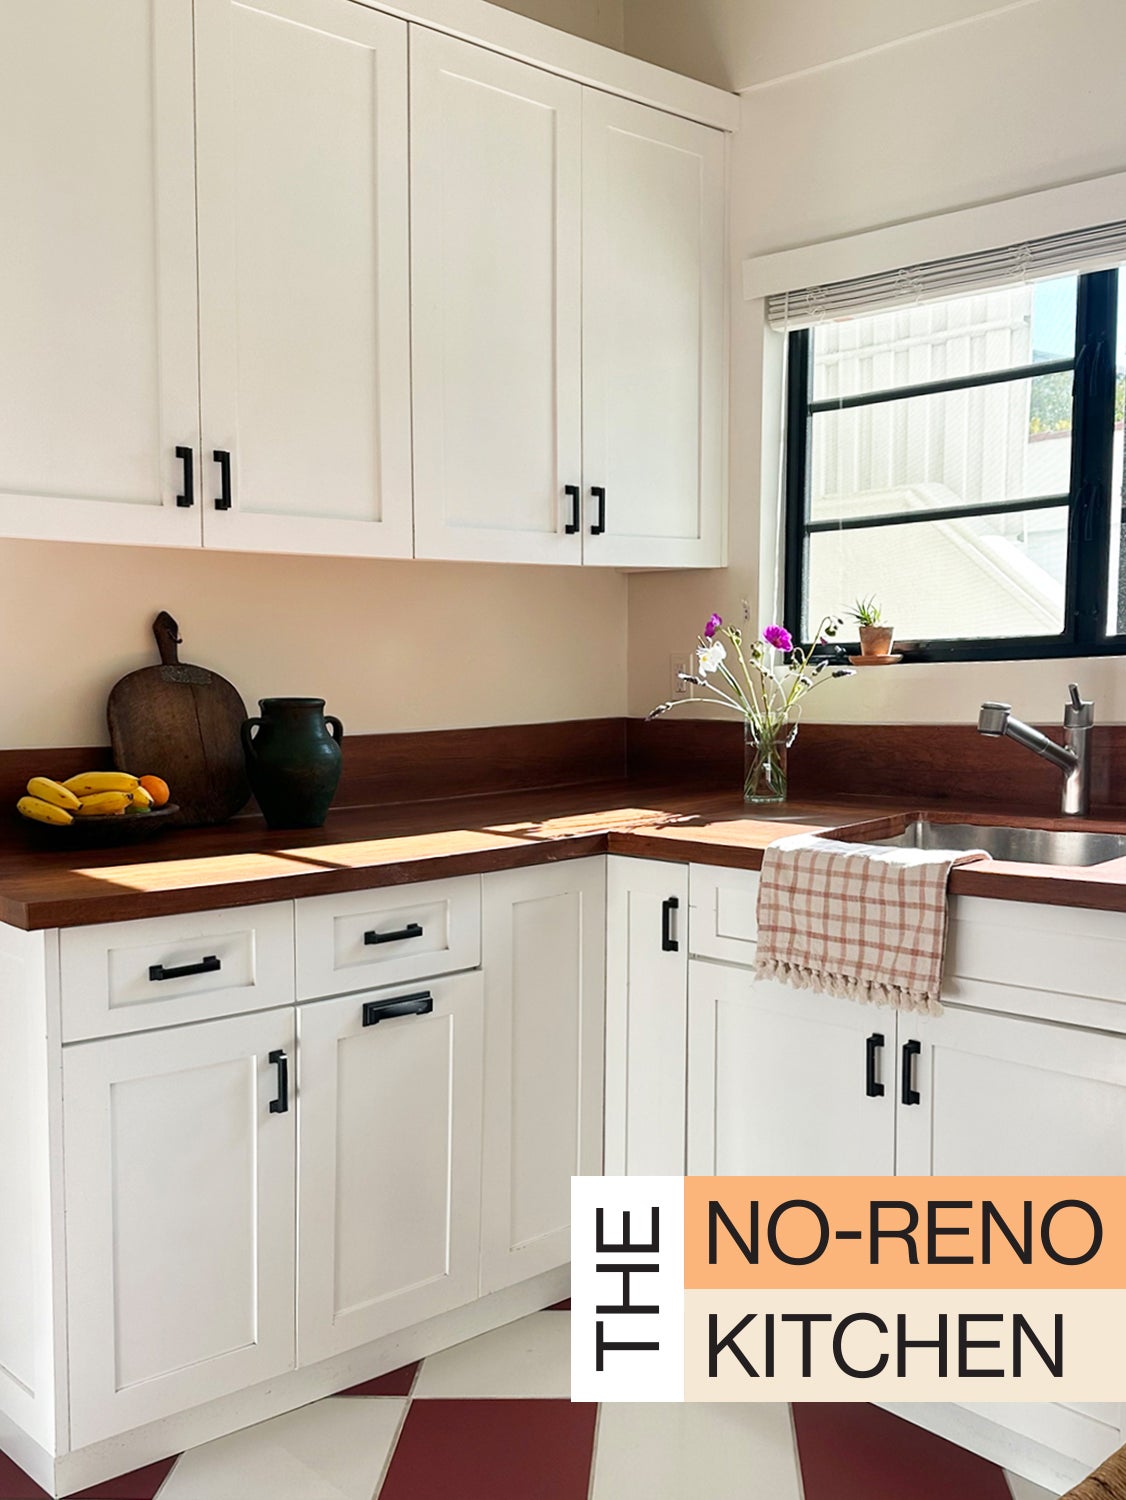
Who says you have to completely demo your kitchen (not to mention your budget) to make it yours? In our new series, The No-Reno Kitchen, we’re highlighting total transformations that prove the power of paint, fixtures, and a little elbow grease.
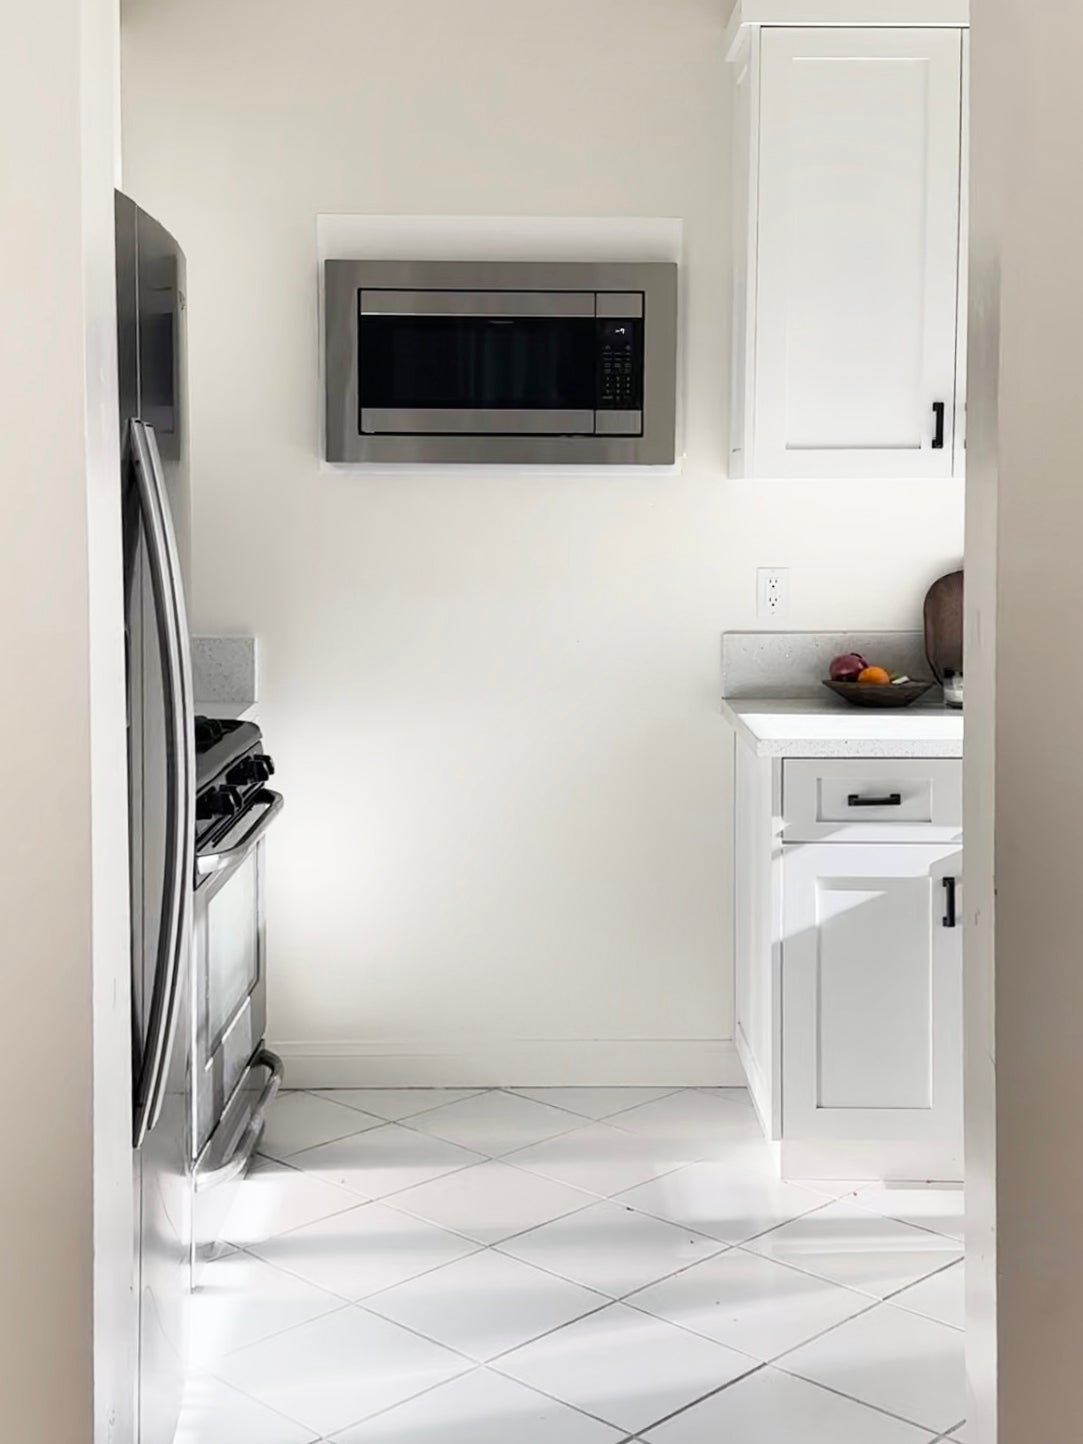
Marco Zamora almost didn’t show up to tour his Los Angeles apartment. “All the photos on the listing site were taken six years ago and were bad quality,” he recalls. But knowing that it met his major requirements (it was in his budget and came with a parking spot), he went anyway—and discovered a completely different space. There was French windows, ornate molding, and exposed ceiling beams. The only room that had been stripped of the 1920s charm was the boring white kitchen.

Feeling inspired by the architecture he saw on a recent trip to Mexico City, the design influencer set out to revive the space, all while relying on renter-friendly upgrades. “I wanted to channel my own culture and make it my special place,” says Zamora. Here are four game-changing DIYs he tackled on a $300 budget.
advertisement
Fill in (Some of) the Blanks
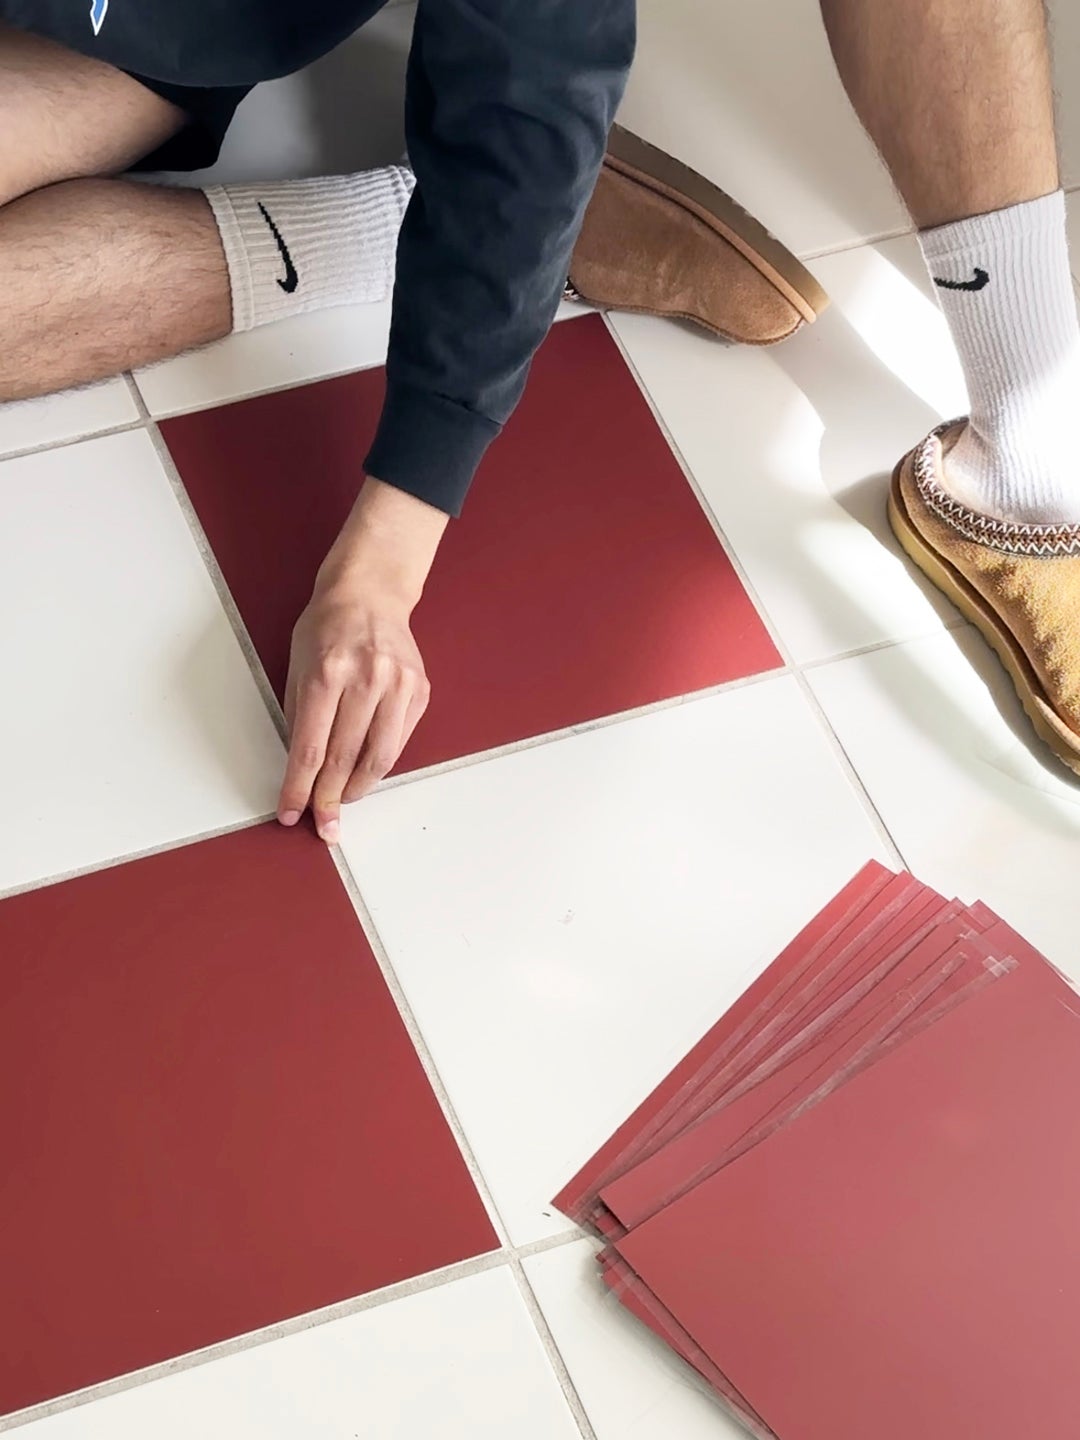

One surefire way to add character to a space is with color. Zamora bought a pack of red and white peel-and-stick floor tiles on Amazon for $22, despite the product having very few reviews at the time. “I thought, let’s take a risk. At least there is a good return policy,” he says with a laugh. Once they arrived, he realized he didn’t even need to use the white squares in the box (his flooring is already made up of actual white tiles). Instead, Zamora laid the red stickers down in a checkerboard fashion, trimming the sides with an X-acto knife to expose the grout lines for a more realistic look. “I’m surprised, but they’ve been holding up great,” he says.
Embrace a New Frame of Mind
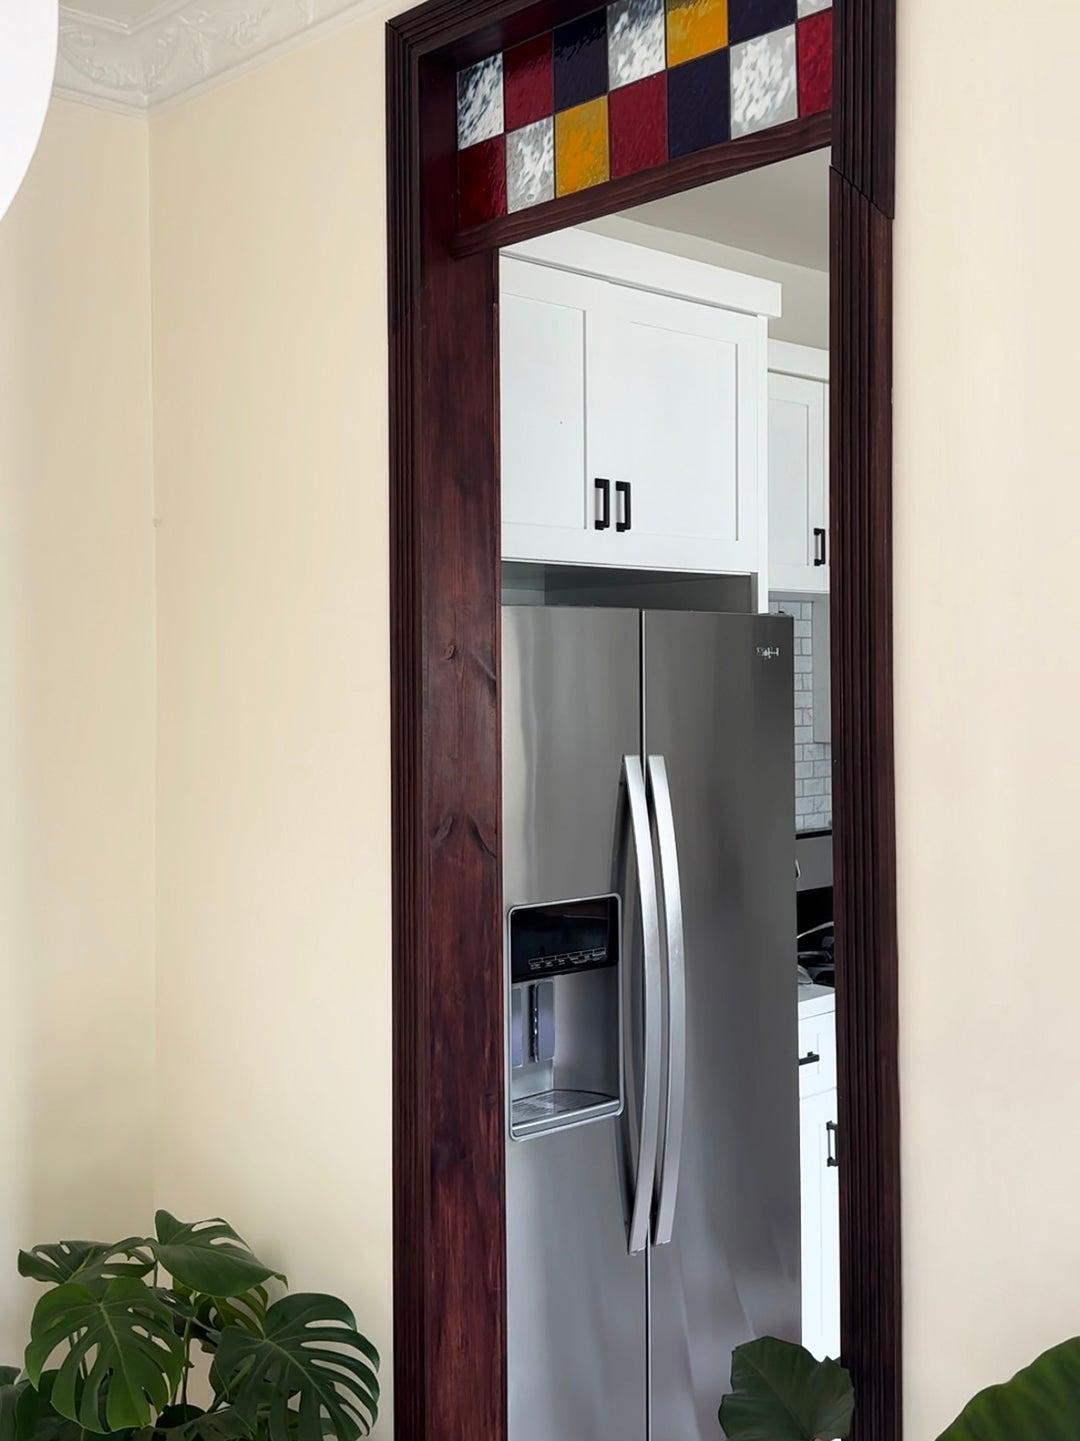
Zamora’s only rule for updating his kitchen was that anything that he put up had to be something he could easily take down. This included the new doorframe he made out of wood blanks from the hardware store and cut with a compound miter saw in the back of his apartment complex. After staining the boards with a dark brown finish, he nailed the three pieces together and then to the existing threshold. But he wasn’t done yet: Zamora topped the doorway with a faux stained-glass transom window made out of lightweight plexiglass, faux lead lines, and a glass paint set.
Get Cutting-Edge With Your Counters

Zamora went the peel-and-stick route once more with his countertops, which he covered in a butcher block-inspired contact paper. Pulling off the illusion is all in the application. “It’s the details, like making sure you don’t have any air bubbles, that take it to the next level,” he points out. The vinyl product is waterproof, but to maintain it for as long as possible, Zamora says he avoids directly cutting anything on top of it.
Hide Eyesores With Art

Zamora’s kitchen did have one noteworthy quirk: a microwave recessed in the middle of the wall. As a quick fix, he mounted a thick piece of wood next to it on hinges so he could hang a large piece of thrifted art to act as a door. “It was perfect for my kitchen—it had the right colors and wood tones,” he says. An open-and-shut case if we’ve ever seen one.
advertisement